
Below is the "before" picture (big difference, huh?)

The first step was plotting out a rough design in Photoshop and here's what I came up with:

Next I printed a black and white version on a transparency and used an overhead projector to project it on the wall. This is the same type of projector you saw used in school. Because the room was so small, I had to print the design out in two halves in order to get it projected close to the size I wanted it.

After tracing it in pencil, I then went over the lines with black paint. In the pic below, you'll see that the design did not go all the way to the walls. I knew it wouldn't because of the small size of the room - there simply wasn't room to get the projector far enough back to make it cover the entire wall. This was planned for and all I had to do was to finish off the design freehand. The important elements are the flourishes and the center wavy section which will be done in warm colors. The upper and lower sections will be cool colors.

After extending the design out to the edges of the wall, I then use a sponge to add patterns and texture, also in black paint. This will show through because I'll use transparent colors glazed over the design. It's already looking much more interesting and rather cool all on its own.

In the close-up below, you can see the very rough texture of this wall.

I first tried using a painter's brush with tough synthetic bristles, but that took too much effort to cover completely the textured surface with the transparent paint. So I used a sponge instead, the type sold in the household or automotive sections of many stores. I cut the sponge in half so it would fit easily in my hand. This worked out very well and allowed me to blend the colors together rather nicely.

I cover the entire wall with colored glazes. Because of the rough texturing, it obviously took more time than a smooth wall would have. I altered the color layout a bit from the original Photoshop plan because I found I really liked the look of the deep blue and the purple once I glazed them onto the wall.

Nearly there! The next step was to add highlights along the edges of the warm center section and shadows in the cool areas. Both of these things helps the center band to pop out more. I also corrected a boo-boo in the upper right edge of the warm center band - I got carried away with the gorgeous blue and put it in a section that was supposed to be a warm color! That's the great thing about acrylic paint - it can be painted over and fixed within minutes.

A note on the highlighting - it looks white, even when you're standing right in front of the wall. But it's not white - it's a very light blue. If I used white paint, it would have taken on the warm tone of the yellow / orange / red paint beneath it and it would get "lost", which is not what I want. Using the cooler blue paint provides the temperature contrast to make it appear white - a little optical trick. You can see the actual color in my container and compare how it looks so different when it's on the wall.

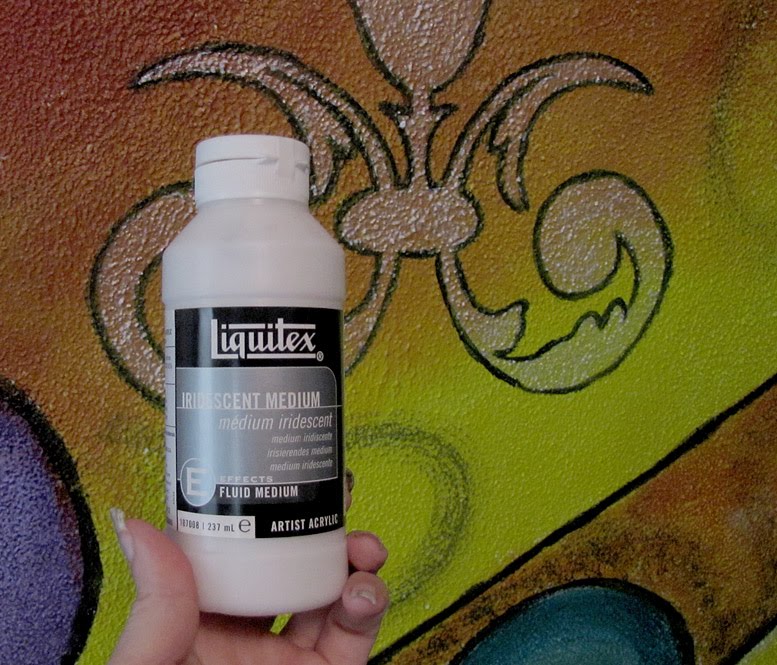
The final step is to use a pearlescent medium to highlight inside the flourishes. This adds a beautiful touch - when the light hits it, it really comes alive. The texture of the wall actually adds to the effect.

The product I used for this is Liquitex Iridescent Medium. It dries to a translucent whitish finish and can be mixed with paints to make them metallic.
Finally, here's the entire wall and the wall with furniture in place.


I really loved your blog about Wall Mural Painting . It appears that you have put a lot more work into it I will keep your blog in my twitter list so I can come back and see it again when it has some new information. Thanks a lot about this amazing painting.
ReplyDeleteI really enjoyed reading about the process that you went through to make the beautiful mural. Thanks for sharing your creation Colleen!
ReplyDeleteWow this is cool! I might try this in my kids room. Thank you for the step by step!
ReplyDeleteFirst of all I would like to thank you for sharing the process. The result is amazing. Please give us more knowledge on different subjects that you work on.
ReplyDelete